विवान चौधरी
क्रिप्टो विशेषज्ञ जो ब्लॉकचेन तकनीकों को सरल और आसानी से समझ आने वाले तरीके से समझाता है।
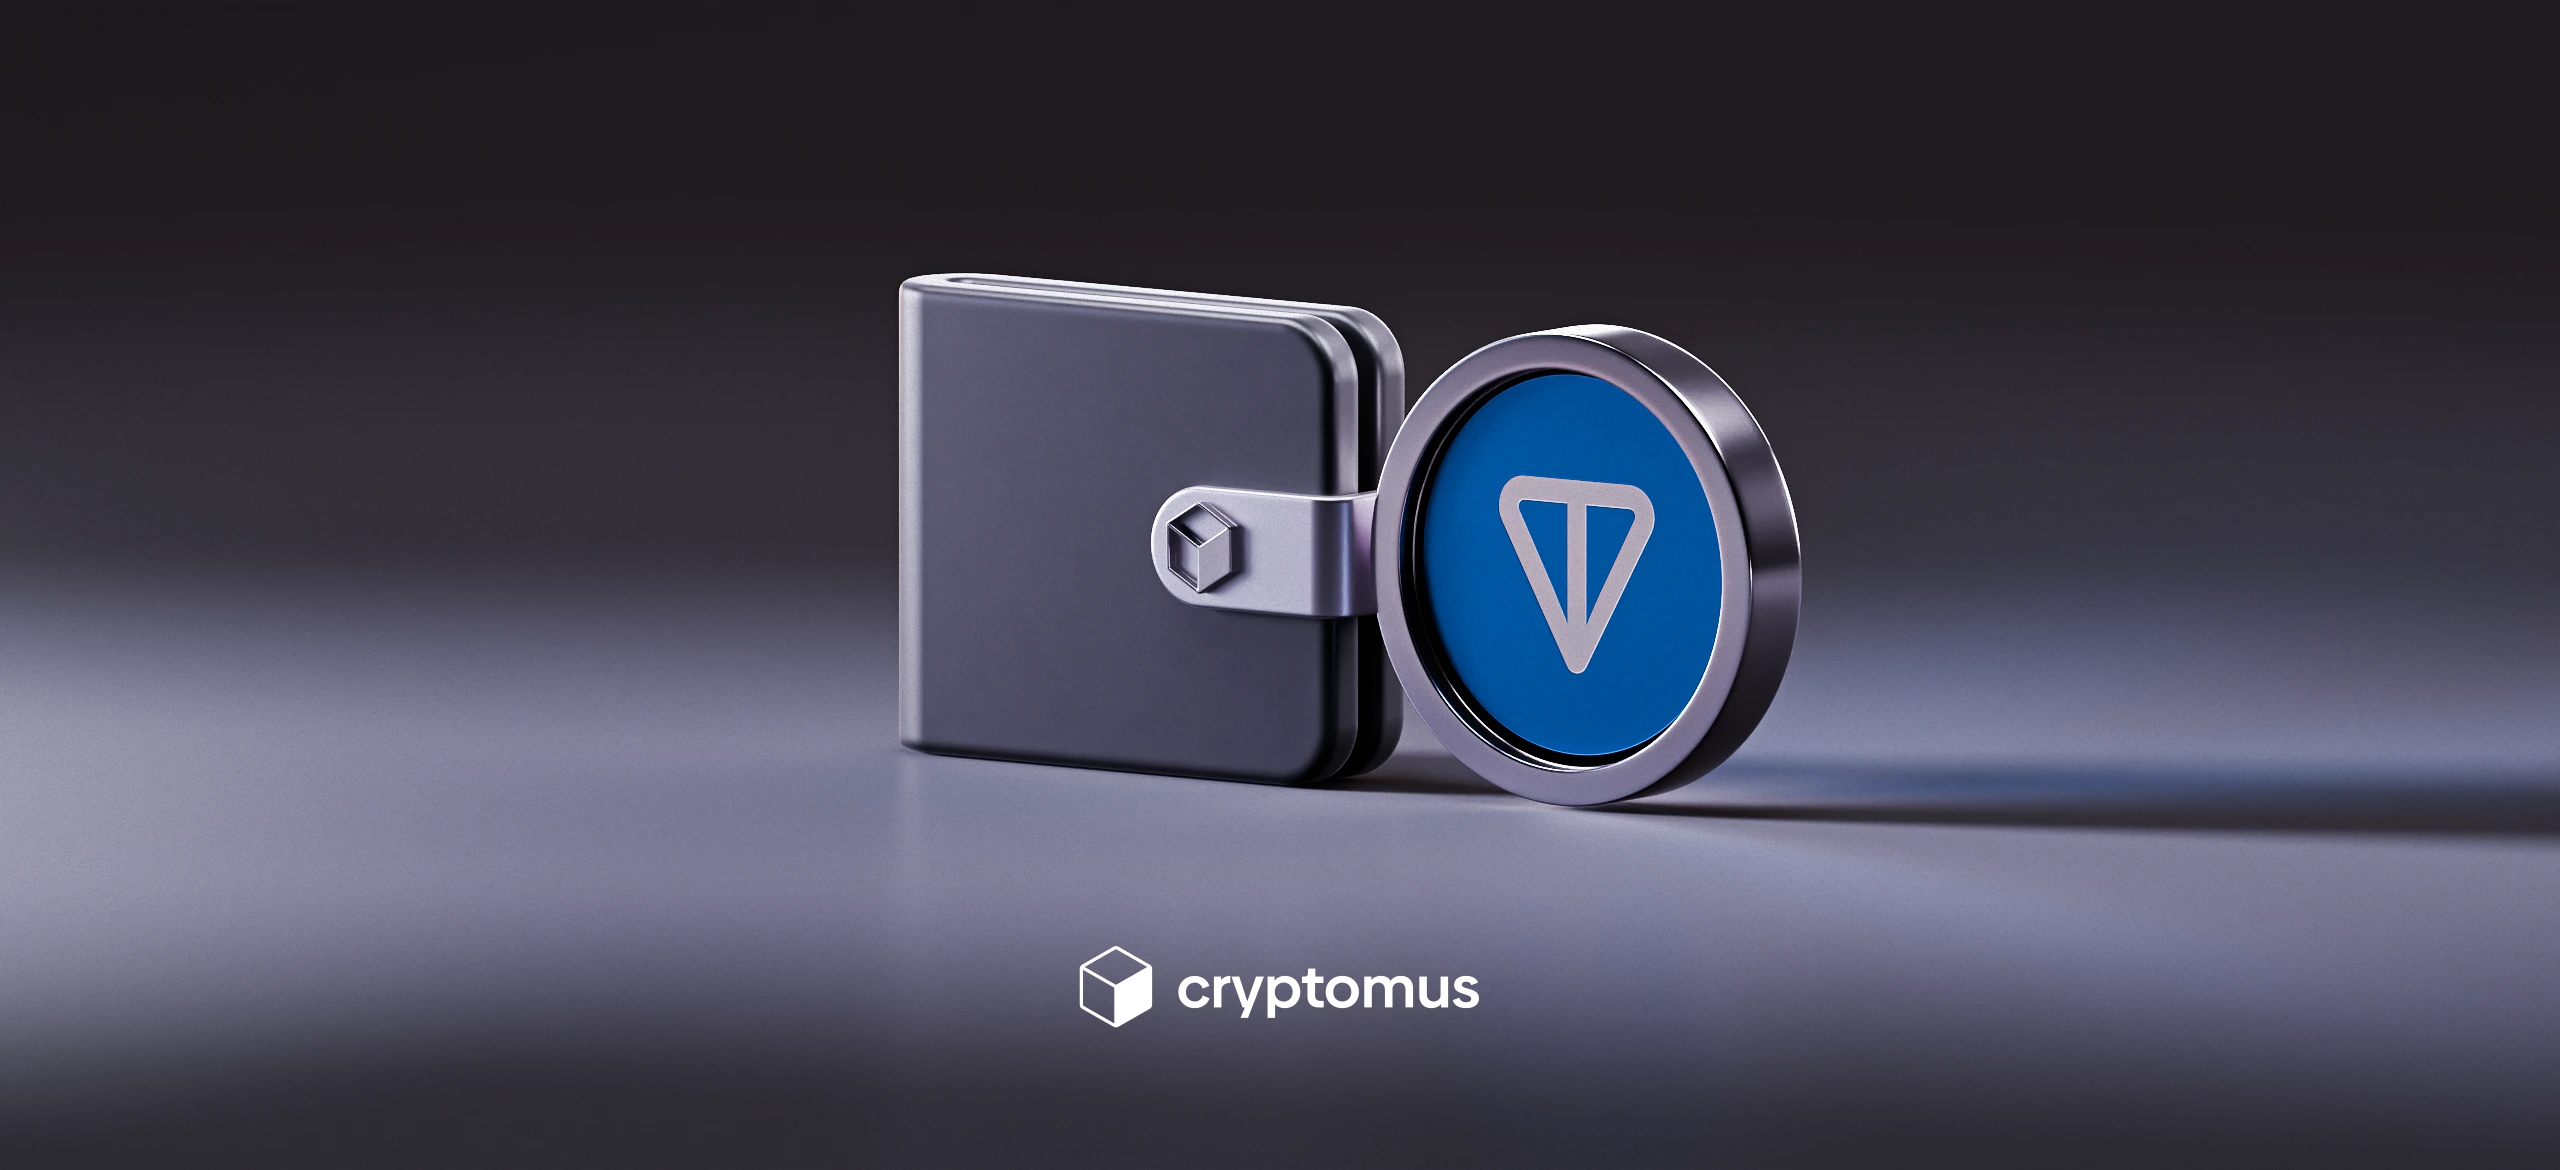
TON वॉलेट कैसे बनाएँ
विषयसूची
िप्टोकरेंसी अधिक सामान्य होती जा रही है, और अधिक लोग यह पता लगाना शुरू कर रहे हैं कि यह वास्तव में दैनिक जीवन में कैसे काम करती है। अभी ध्यान आकर्षित करने वाले पारिस्थितिक तंत्रों में से एक TON (द ओपन नेटवर्क) है, विशेष रूप से क्योंकि यह टेलीग्राम से निकटता से जुड़ा हुआ है, एक ऐसा ऐप जिसका उपयोग कई लोग पहले से ही दैनिक रूप से करते हैं। TON सिक्के भेजने, प्राप्त करने या संग्रहीत करने के लिए, पहली चीज़ जो आपको चाहिए वह है आपका अपना वॉलेट।
इस गाइड में, हम आपको अपने स्वयं के TON वॉलेट को स्थापित करने की प्रक्रिया के बारे में इस तरह से बताएंगे जो वास्तव में समझ में आता है। हमने इसे सरल, प्रबंधनीय चरणों में विभाजित कर दिया है ताकि आपको पता चले कि वास्तव में क्या करना है और इससे भी महत्वपूर्ण बात यह है कि किस बात का ध्यान रखना है।
टोनकॉइन वॉलेट क्या है?
एक टोनकॉइन वॉलेट मूल रूप से TON को रखने, भेजने और प्राप्त करने के लिए आपकी व्यक्तिगत डिजिटल तिजोरी है। इसे अपने फोन पर एक साधारण ऐप के रूप में सोचें जहाँ आप अपना शेष राशि देख सकते हैं या बैंकिंग ऐप का उपयोग करने जितनी आसानी से धनराशि स्थानांतरित कर सकते हैं। मुख्य अंतर यह है कि नकदी के बजाय, आप सीधे ब्लॉकचेन पर अपनी डिजिटल संपत्तियों का प्रबंधन कर रहे हैं।
अधिकांश TON वॉलेट कुछ बेहतरीन अतिरिक्त सुविधाओं के साथ आते हैं, जैसे सेवाओं के लिए भुगतान करने, विभिन्न ऐप्स का उपयोग करने, या सीधे टेलीग्राम के भीतर पैसे भेजने की क्षमता। साथ ही, सबसे महत्वपूर्ण हिस्सा सुरक्षा है। एक मजबूत प्रतिष्ठा वाला विश्वसनीय वॉलेट चुनें, सभी उपलब्ध सुरक्षा उपायों (जैसे दो-कारक प्रमाणीकरण (2FA)) को सक्षम करें, और अपने धन को सुरक्षित रखने के लिए बुनियादी सुरक्षा प्रथाओं का पालन करें।
TON वॉलेट पता क्या है?
अपने TON वॉलेट पते को डिजिटल मेलबॉक्स या बैंक खाता संख्या के रूप में सोचें। यह वर्णों का एक अनूठा तार है जिसे आप दूसरों को देते हैं ताकि वे आपको सिक्के भेज सकें। ये पते आम तौर पर "U" या "E" से शुरू होने वाले अक्षरों और संख्याओं के लंबे, गड़बड़ मिश्रण की तरह दिखते हैं। चूंकि वे लंबे और बहुत विशिष्ट होते हैं, इसलिए उन्हें कॉपी-पेस्ट करना या क्यूआर कोड का उपयोग करना हमेशा सबसे अच्छा होता है — उन्हें हाथ से टाइप करना गलतियों का कारण बनता है। यह महत्वपूर्ण है, क्योंकि ब्लॉकचेन पर, यदि आप गलत जगह पर धन भेजते हैं तो कोई "पूर्ववत करें" बटन नहीं होता है।
उदाहरण: EQC2h3kF7Xz9K8yQvP6nZy1k3Gf8Jd2s8a9LmQwXyZ123abc

TON वॉलेट प्रकार
अपने टोनकॉइन को संभालने के दो मुख्य तरीके हैं: कस्टोडियल और नॉन-कस्टोडियल वॉलेट। जबकि दोनों आपको अपनी क्रिप्टो का प्रबंधन करने की अनुमति देते हैं, वास्तविक अंतर इस बात में निहित है कि वास्तव में आपके पैसे की चाबियाँ किसके पास हैं।
-
कस्टोडियल वॉलेट — एक प्रकार का टोनकॉइन वॉलेट जिसका एक निर्दिष्ट संरक्षक (कस्टोडियन) होता है, जिसका अर्थ है एक तृतीय पक्ष जैसे क्रिप्टोकरेंसी एक्सचेंज या वॉलेट सेवा प्रदाता। यह प्रदाता वॉलेट में रखे गए धन को संग्रहीत करने और उसकी सुरक्षा करने के लिए जिम्मेदार होता है। यह कस्टोडियल वॉलेट को अधिक उपयोगकर्ता-अनुकूल और विशेष रूप से शुरुआती लोगों के लिए उपयुक्त बनाता है, क्योंकि उपयोगकर्ताओं को स्वयं निजी कुंजी का प्रबंधन करने की आवश्यकता नहीं होती है। किसी भी समस्या के मामले में, प्लेटफ़ॉर्म पहुंच को बहाल करने या समस्याओं को हल करने में सहायता कर सकता है। वे पारंपरिक वॉलेट की तुलना में अक्सर अंतर्निहित सुविधाओं और सेवाओं की एक विस्तृत श्रृंखला भी प्रदान करते हैं।
-
नॉन-कस्टोडियल वॉलेट — एक टोनकॉइन वॉलेट जहां उपयोगकर्ता का निजी कुंजी और उनके क्रिप्टो एसेट्स की सुरक्षा पर पूर्ण नियंत्रण होता है। यह विकल्प आम तौर पर उन लोगों द्वारा चुना जाता है जो अपने धन पर प्रत्यक्ष स्वामित्व चाहते हैं और पहुंच का प्रबंधन करने, लेनदेन की निगरानी करने और पूर्ण नियंत्रण लेने के लिए तैयार हैं। हालाँकि, यदि निजी कुंजी खो जाती है, तो धन तक पहुंच स्थायी रूप से खो सकती है।
एक बार जब आप कस्टोडियल और नॉन-कस्टोडियल समाधानों के बीच अंतर समझ लेते हैं, तो अगला कदम अपना खुद का टोनकॉइन वॉलेट स्थापित करना है।
टोनकॉइन वॉलेट कैसे बनाएं: चरण-दर-चरण
कस्टोडियल वॉलेट स्थापित करना शुरू करने का सबसे आसान तरीका है। यह एक नया सोशल मीडिया अकाउंट या डिजिटल बैंक खोलने की तरह लगता है, जिसमें आपकी सहायता के लिए बहुत सारे उपकरण होते हैं। यहां बताया गया है कि सब कुछ कैसे चालू किया जाए:
- अपना प्लेटफ़ॉर्म चुनें. आप एक समर्पित वॉलेट ऐप या Cryptomus जैसे "ऑल-इन-वन" प्लेटफ़ॉर्म का चयन कर सकते हैं। दूसरा विकल्प बहुत अच्छा है क्योंकि यह आपको स्टोर करने, व्यापार करने और यहां तक कि पुरस्कार अर्जित करने की सुविधा सभी एक ही स्थान पर देता है।
- आधिकारिक ऐप प्राप्त करें. ऐप स्टोर, Google Play, या प्रदाता की आधिकारिक वेबसाइट पर जाएं। नकली या फ़िशिंग साइटों से सुरक्षित रहने के लिए हमेशा सुनिश्चित करें कि आप वास्तविक संस्करण डाउनलोड कर रहे हैं।
- साइन अप करें. अपने ईमेल का उपयोग करके और एक मजबूत पासवर्ड बनाकर पंजीकरण करें। आपका वॉलेट स्वचालित रूप से बन जाता है और साइन अप करना समाप्त करते ही उपयोग करने के लिए तैयार हो जाता है।
- इसे 2FA से लॉक करें. तुरंत दो-कारक प्रमाणीकरण चालू करें। यह आपका सबसे अच्छा बचाव है — यह आपके पैसे को सुरक्षित रखता है, भले ही कोई आपका पासवर्ड पता लगाने में सफल हो जाए।
- अपनी पहचान सत्यापित करें. कुछ सेवाएं आपसे अपनी आईडी की फोटो अपलोड करके त्वरित पहचान जांच (KYC) पूरी करने के लिए कहेंगी। इसमें आमतौर पर केवल कुछ मिनट लगते हैं और प्लेटफ़ॉर्म के सभी उत्पादों को अनलॉक कर देता है।
- अपने वॉलेट में पैसे डालें. अब आप टॉप अप करने के लिए तैयार हैं. आप अपना नया वॉलेट एड्रेस किसी दोस्त के साथ शेयर कर सकते हैं ताकि वे आपको कॉइन भेज सकें, खरीदें उन्हें सीधे आपके बैंक कार्ड से.
TON कैसे भेजें और प्राप्त करें?
अब जब आपका वॉलेट तैयार है, तो आप केवल कुछ क्लिक के साथ TON भेजना शुरू कर सकते हैं। त्वरित और सुरक्षित स्थानांतरण सुनिश्चित करने के लिए बस इन चरणों का पालन करें:
- ऐप या वेबसाइट खोलें. लॉग इन करें और अपने व्यक्तिगत डैशबोर्ड में "भेजें" अनुभाग पर जाएं।
- अपना सिक्का चुनें. अपनी संपत्तियों की सूची से TON चुनें।
- विवरण दर्ज करें. धन भेजते समय, आपको प्राप्तकर्ता का विवरण दर्ज करना होगा — उनके वॉलेट पते को फ़ील्ड में पेस्ट करें।
- नेटवर्क चुनें. TON नेटवर्क चुनें (स्वचालित रूप से पता चल जाना चाहिए — बस सुनिश्चित करें कि यह TON है)।
- राशि निर्धारित करें. आप कितना TON भेजना चाहते हैं, यह टाइप करें। आप यहाँ शुल्क भी देखेंगे।
- पुष्टि करें और सुरक्षित करें. सब कुछ एक बार फिर से जांचें, फिर अपने 2FA कोड का उपयोग करके स्थानांतरण को अधिकृत करें।
आप ब्लॉकचेन एक्सप्लोरर का उपयोग करके अपने स्थानांतरण की प्रगति को वास्तविक समय में ट्रैक कर सकते हैं।
TON प्राप्त करना और भी आसान है, क्योंकि आपको केवल प्रेषक को अपना वॉलेट पता प्रदान करने की आवश्यकता होती है। अपना विवरण सुरक्षित रूप से साझा करने और धन प्राप्त करने के लिए इन सरल चरणों का पालन करें:
- अपना पता प्राप्त करें. अपने वॉलेट ऐप में, "प्राप्त करें" अनुभाग पर जाएं और TON चुनें।
- नेटवर्क चुनें. सुनिश्चित करें कि TON चुना गया है।
- कॉपी या स्कैन करें. आपका अद्वितीय वॉलेट पता वर्णों की एक लंबी स्ट्रिंग या क्यूआर कोड के रूप में दिखाई देगा। बस पते को कॉपी करें या प्रेषक के साथ साझा करने के लिए कोड का स्क्रीनशॉट लें।
- अपना शेष राशि जांचें. एक बार जब प्रेषक स्थानांतरण पूरा कर लेता है, तो सिक्के आपके इतिहास में दिखाई देंगे।
बस इतना ही है! चाहे आप भेज रहे हों या प्राप्त कर रहे हों, सबसे महत्वपूर्ण नियम टाइपो से बचने के लिए पतों के लिए हमेशा "कॉपी और पेस्ट" का उपयोग करना है।
अपने TON के प्रबंधन के बारे में और प्रश्न हैं? टिप्पणियों में अपने विचार अवश्य साझा करें!
अपनी क्रिप्टो यात्रा को सरल बनाएं
क्या आप क्रिप्टोकरेंसी स्टोर करना, भेजना, स्वीकार करना, स्टेक करना या ट्रेड करना चाहते हैं? क्रिप्टोमस के साथ यह सब संभव है - साइन अप करें और हमारे आसान टूल्स से अपने क्रिप्टोकरेंसी फंड्स को मैनेज करें।
शुरू हो जाओ